My OSCP Journey
A little bit about me
Hey guys, I have just taken the OSCP exam, and as many others, I would like to share my experience. The PWK course and the OSCP exam is why I have no posts on this blog for the past 3 months, you can’t just publish PWK lab machine writeup here, can you?
Before taking the PWK course
As you can see on the blog, I only did a few machines prior to taking the PWK course, some of them are OSCP-like machines. Prior to doing those machines, I only practice basic Linux and web skills on sites such as:
- Overthewire Bandit
- Overthewire Natas
- Root-me.org
I knew about TJNull’s list but I did not manage to do them all prior to taking the PWK course. Some OSCP-like machines I did:
- HTB Sense
- HTB Jarvis
The Penetration with Kali Linux course
On February 7th 2021 I purchased the 90-days PWK course for the low price of $1350. The course consists of:
- The courseware: a PDF document and a rar file containing the videos.
- The lab access with ~70 machines.
The courseware
The OSCP PDF courseware is 900 pages long, detailing how to use tools, approach a target, identify the vulnerability and exploit them. The course is divided into several topics, each taking a chapter or two, that covers all the phases of a penetration test, and at the end they will simulate a real penetration test that we can follow in the lab. See the course syllabus for more details.
I have no idea what the videos are like because I only ever touch the PDF, so I can’t comment on them. If you prefer the PDF like me, I suggest printing the PDF as a book, this has many advantages:
- You are less likely to be tired of reading a printed book than reading on the screen.
- Easier note-taking. Yes I do write in my book, some’s gonna hate me for this.
- You are motivated when seeing the progress with your own eyes.
The printed books do not need to be fancy, in my case, they are split in 3 parts for portability, they are wrapped in all-white covers on which I scribble their names.
You should finish the courseware as fast as possible, but make sure you understand and can apply commands introduced in the book in the lab. The OSCP exam will award you with 5 more points if you complete ALL the book’s exercises and at least 10 machines. But I think this is just a waste of time even with the 90-day lab access. The time you need to be able to do ALL the exercise and document them will cost you lab time, especially if you have a day job and night class like I do. I think you should make the most of the labs instead of investing lab time to doing the course exercise.
I finished the PDF courseware in 3 weeks, after that I started doing the labs.
The labs
You are given a VPN config file that can be used to connect to the lab environment. The lab environment simulate a corporate network with DMZ zones and subnet zones that sits behind a firewall/router. In total, you have access to these subnets/pages:
- The control panel: this is where you will revert machines to their original states (because of others exploiting it) and submit proof.txt files.
- Your own test machines: these are called “My Clients” in the Control Panel. This is where the course practices usually happens. These machines need to be reverted before use and only you can access them (as opposed to other machines in the lab)
- The sandbox machines: This is the machines that the books uses to demonstrate a real penetration test. These have flags (or proof files) that you can submit to the control panel.
- The public network: This is the subnet you will get inital access to. You can connect to these machines directly without pivoting.
- The IT subnet, admin subnet and dev subnet: these are the subnets that you have to find and break your way in. It means that you have to find some machines in the public subnet that can access these internal subnet and route your requests through them (also called pivoting).
To unlock the internal subnets, you must find the way in and a network-secret.txt file to submit to the Control Panel to unlock them.
See this image on the PWK Network Introduction Guide.

Each subnet has several machines to attack, each with their own proof.txt file. This file is the ‘proof’ (duh!) that you have rooted (gain high level access) the machine. This file should be obtained through an interactive shell and not webshell nor LFI. The difficulty of the machines varies, so there’s something for everyone.
How to approach the labs: Step 1: Scans the whole network range for potential prey. Step 2: Get overwhelmed by the number of machines in the public range.
To avoid step 2, I recommend following the list of machines in this article: PWK Labs Learning Path. They offer you a clear path from easy to hard. It’s fine if you don’t complete this path before doing other machines, this is just for reference anyway.
The first lab I completed is 10.11.1.71 on February 22th, these are my progress counted by week, I will not list the machine IP or name due to copyright issues:
- Week 1 (Feb 22th - Feb 28th): 4 machines.
- Week 2 (Mar 1st - Mar 6th): 7 machines. Unlocking IT and Dev subnet.
- Week 3 (Mar 7th - Mar 13th): 2 machines. I don’t remember what happened this week. Maybe I have too much work to do.
- Week 4 (Mar 14th - Mar 20th): 12 machines. Ah, I was regaining the pace.
- Week 5 (Mar 21st - Mar 27th): 2 machines. Shit, I’m losing it again.
- Week 6 (Mar 28th - Apr 3rd): 4 machines.
- Week 7 (Apr 4th - Apr 10th): 8 machines.
- Week 8 (Apr 11th - Apr 17th): 11 machines.
- Week 9 (Apr 18th - Apr 19th): 6 machines.
I did not do any of the Active Directory machines which is 8 because I want to focus on the exam first.
In total, I rooted 55 machines in the span of over 2 months. I felt pretty ready to take on the OSCP exam.
The exam
With over 2 weeks of lab access left, I took the exam on April 23rd at 11:00AM, which I feel is the most suitable hour, you wake up, make sure you’re rested and fully awake, then take the exam. Tomorrow morning you still have a few hours of clear mind to do some more work.
Circumstance forced me to take the exam early, but if you don’t have to, you should utilize all the lab time and the preparation time. You still have 120 days of preparation after you have finished the PWK course, use that time to do TJNull’s OSCP prep boxes!
Exam info
The exam consists of 5 machines with point allocations like so:
- A 25 pointer buffer overflow.
- A 25 pointer machine with 2 steps.
- 2 x 20 pointers machine with 2 steps.
- A 10 pointer.
If the machines have 2 steps, it means that you have to get the low-privileged shell first and obtain local.txt before you can escalating privileges and obtain the proof.txt.
Keep in mind that apart from the buffer overflow, the points are not representation of difficulty. The buffer overflow is the easiest part of the exam.
You have access to a control panel to submit proofs and revert machines. If a machine require cracking a hash, be sure to check out the priority code for Crackpot in the control panel.
Exam strategy
Like many others, I started Autorecon to enumerate services on the other 4 machines first, then I do the buffer overflow since it doesn’t require enumeration.
The buffer overflow
You will have access to 2 machines to do the BOF. One is the test machine which you have full control (you have the credentials). This test machine will contain the vulnerable binary that’s running on the actual exam machine as well as a POC script.
You should use the POC script as a template to write other scripts.
WARNING: Do NOT download the binary to your machine. You may feel that the test machine is slow and will want to download it to your local machine, but this is EXPLICITLY FORBIDDEN in the exam guide. Doing so can result in a immediate fail grade.
The 25 pointer and 20 pointers
These are not as easy as the lab machines. You will not be able to exploit them without carefully considering all the variables and infomation about the box.
Advice #1: Keep enumerating, but also keep a note of interesting things you found while enumerating. This will help you connect the dots.
In my (very limited) experience, getting the initial foothold is much much harder than privilege escalation.
The 10 pointer
This machine will not require you to escalate privileges and thus only have proof.txt.
Time allocation
You need to make sure you can complete the BOF in less than 2 hours, so practice BOF with the book exercise (there are 5 of them) before the exam.
After you got root on a machine, force yourself to rest for a bit before jumping into the next machine, trust me, I know how much that helped me.
If after 30 minutes of enumerating one service and you feel like you are not getting anywhere, skip it and come back later. The exam machine will have rabbit holes you need to avoid. To identify these you just have to do a lot of the lab machines.
VERY IMPORTANT ADVICE: Make sure you have a meal and rest at the usual time, force yourself to do so if you have to. A clear mind can do things that a frustrated and tired one cannot.
ANOTHER VERY IMPORTANT THING: Make sure to take pictures and notes frequently, and do NOT close or clear terminals. Once the exam time run out and you have nothing to write reports, you’re screwed. The proofs won’t count if you can’t detail how you got them.
Result
In the end, I managed to do everything except one 20 pointer, which could get me 80 point and a passing grade. Here is my timeline:
- BOF in 45 minutes: 25 points
- 10 pointer in another 45 minutes: 35 points now
- Rest and have lunch.
- After 4 hours I rooted the remaining 25 pointer.
- Rest again.
- Another 3 hours and the 20 pointer is mine.
Total exam time to get passing grade: 10 hours.
At that point I was relieved and not as stressed, so I took a rest and watch some movies, then I started compiling materials for the reports.
I thought I couldn’t do the 20 pointer, so I just left it.
Oh how wrong I was. The next morning, when I sat down and continue the exam, I immediately found a clue, that’s how good a rest is. I almost managed to pull off a low-privileged shell, but I ran out of time and the exam ends. ‘Oh well,’ I thought, ‘I have rooted 4 machines anyway.’
But it’s not done yet.
Reporting
The report is very important, if you managed to root all the machines and fail to write a good and comprehensive report, you could still fail.
You should use a template to write the exam report. There are many online, so I won’t discuss them here.
Make sure you have included every command to exploit the machine as well as their output. Writing the train of thoughts when you do the box is also recommended.
Note: You must read the exam guide carefully to avoid losing point to stupid mistakes.
Conclusion
The course and the certification is geared towards learning you new tools and very specific skills (both technical and non-technical) that can be applied to many situation, including but not limited to: pivoting, common network topologies, how to identify dependency, lateral and vertical privilege escalation methods, linking information and derive logical conclusions from them, specific possible weak points in a computer network, etc. These skills and tools are very valuable to people in both Red team and Blue team, because if you are attacking, you have to know where the weak points are in order to compromise the network, and if you are defending, you also have to know where the attack will most likely be to better protect the network. And since the exam require you to actually compromise realistic servers, you will have a pretty good idea of what to expect in real life. I am not saying that the OSCP exam is enough, I’m saying it has laid a solid foundation to deeper understanding of real-world network system.
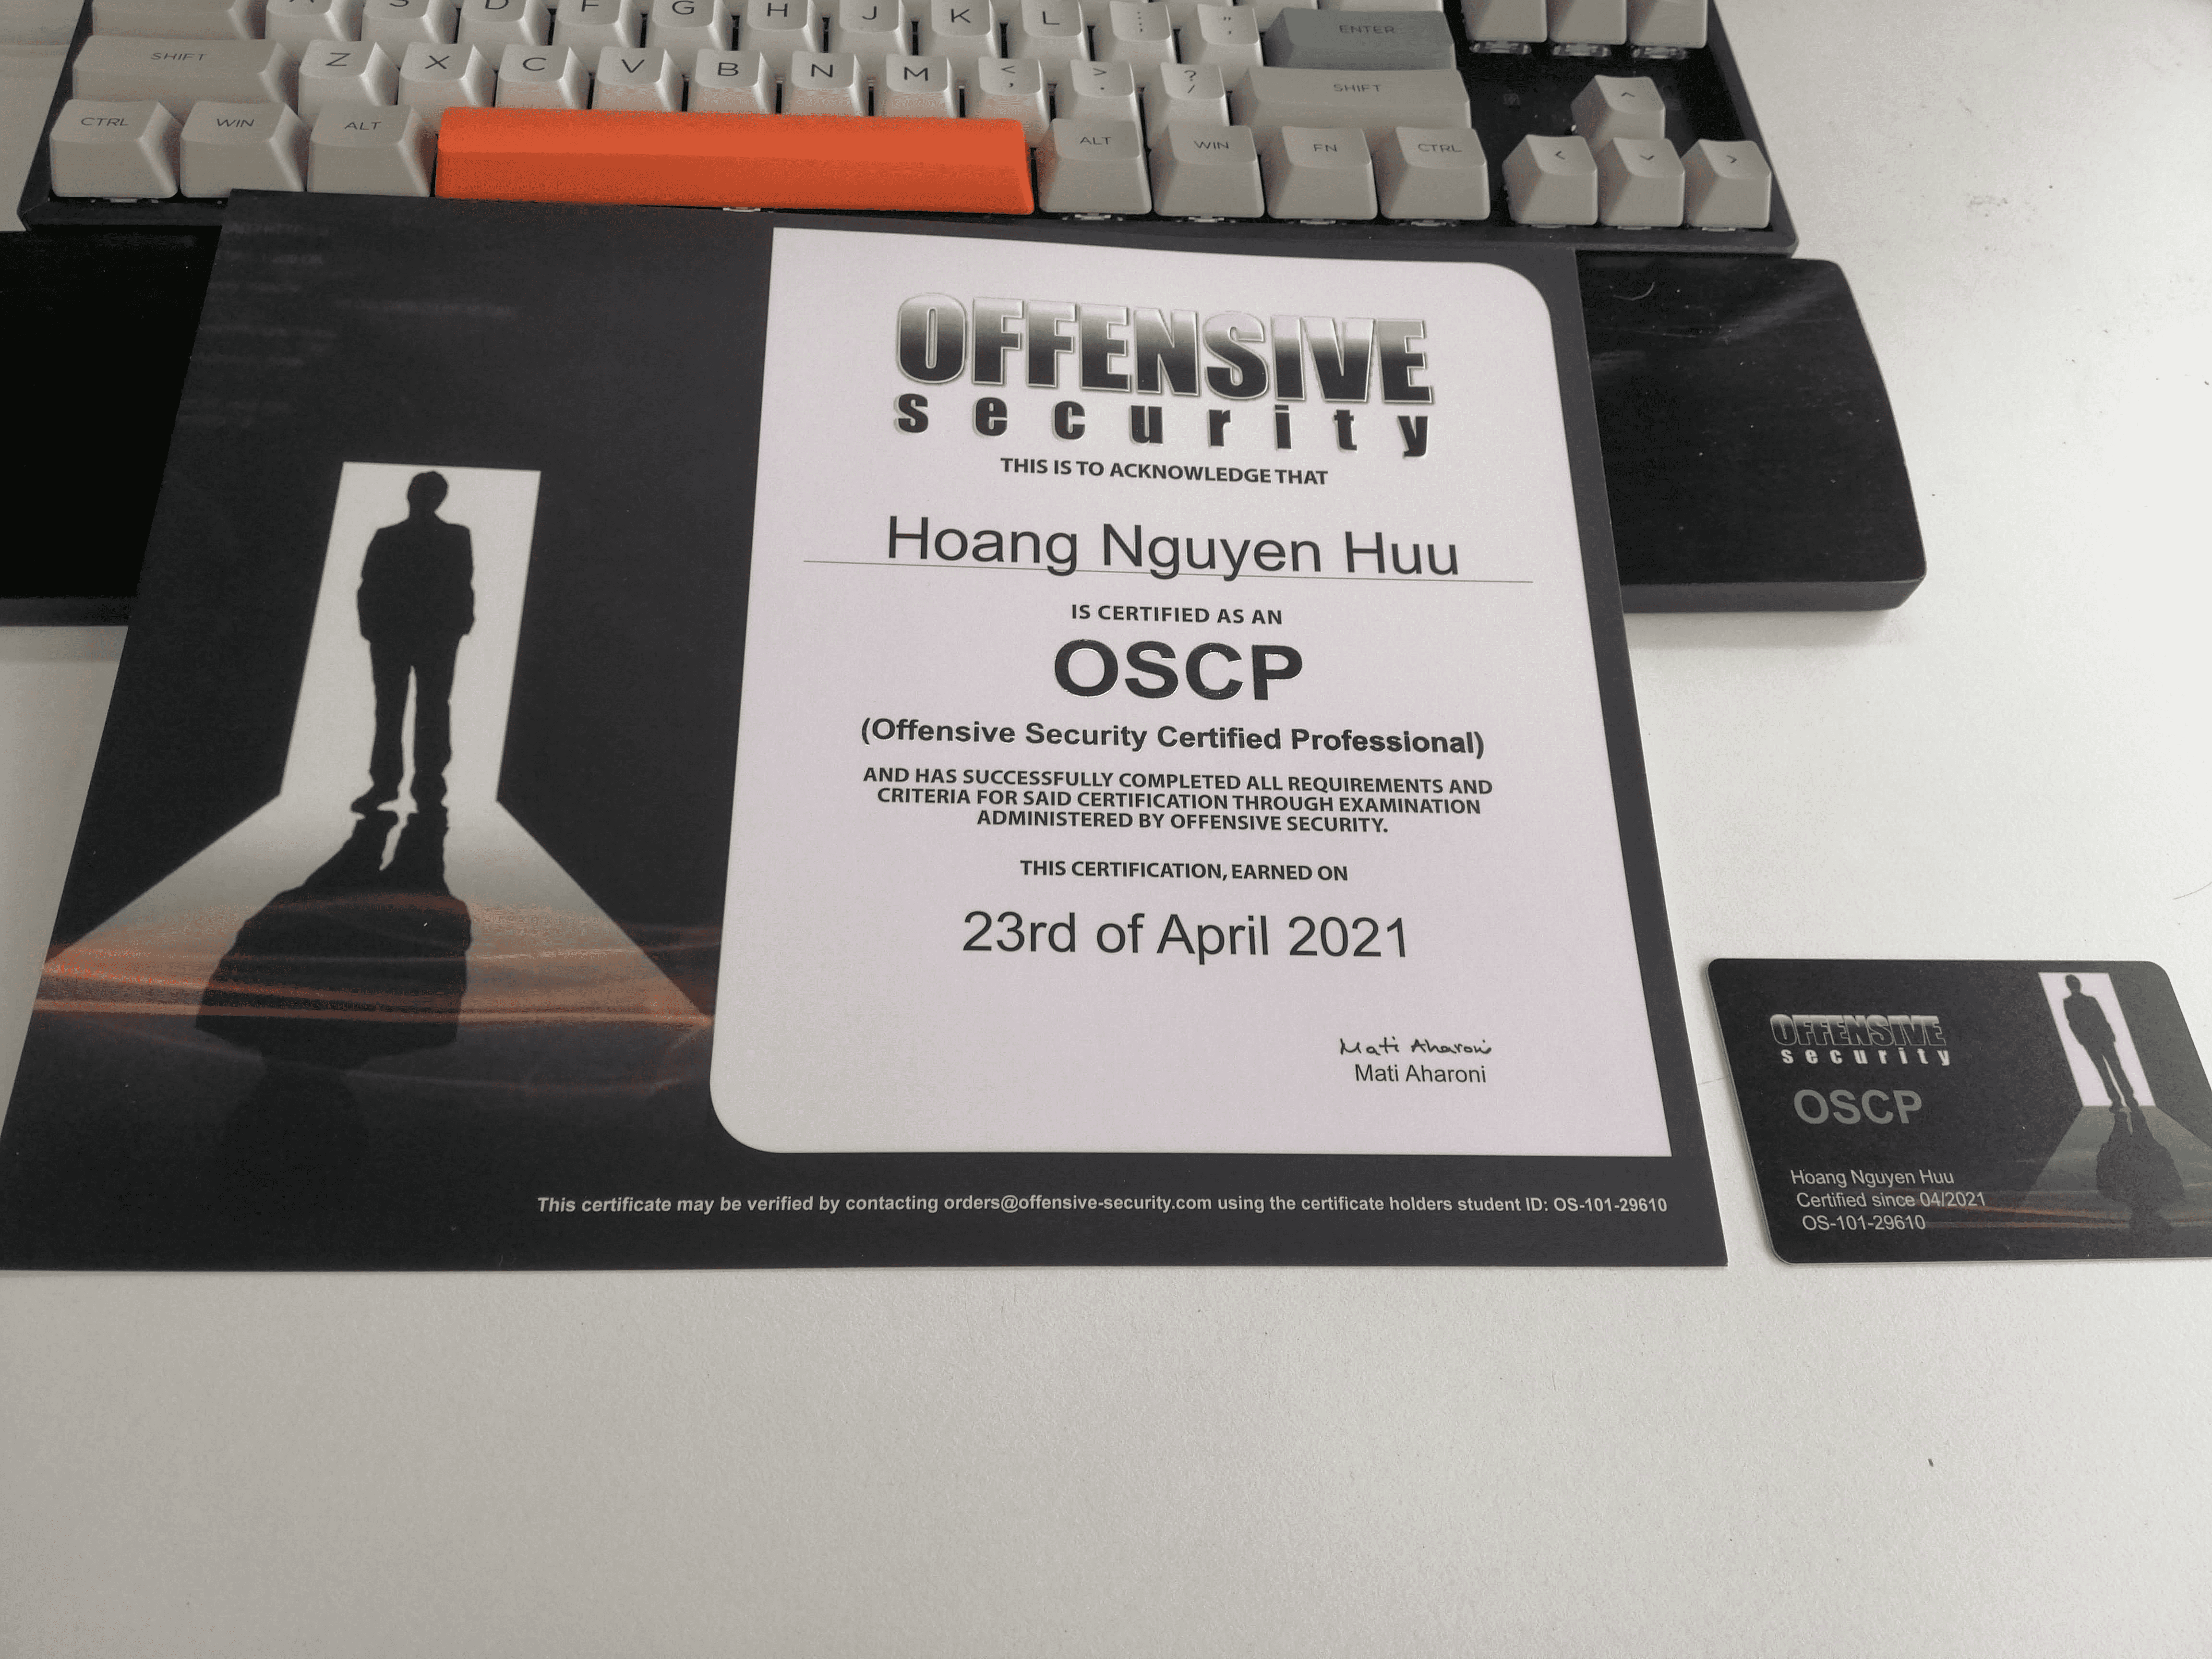
All in all, the PWK course has helped me a whole lot with improving my toolset as well as refining my existing skillset. As soon as I wrote this post, OffSec surprised me with an email announcing that I have passed the OSCP exam.
My rating: 10/10, this is a must for IT professionals wanting to branch off to security or for people new to information security (at least the technical side).
Good luck with your own journey!